Photographing food isn’t as simple as it looks. There are many different aspects to photographing food and perfecting each photo can seem like a craft. Your food photo could be the difference between an appealing recipe or one that seems basic.
We’ve compiled these top tips for photographing food to help your recipes seem even more attractive.
How to Photograph Food
Choose your Lighting
Lighting is, arguably, one of the most significant aspects of photography. First of all, you need to establish which type of lighting is best for your photoshoot. Here, you have two options: natural light or studio (artificial) light.
- Natural Light
Natural light is a great way to introduce lighting without any equipment. To capture it, ensure that you’re taking any photos near, or very close to, a natural source of light.
For example, try photography food in a conservatory, or near a large window. These are areas that bask in natural light.
Make sure to anticipate directional light, which describes the direction of natural light. When it comes to light, side–light and back–light are the most flattering angles. This is where light seems more balanced and even.
Backlight can strengthen your photography, especially for flatter foods, where light can add dimension and depth to your images. You may find, however, that side–light is better for photographing food by creating shadows. Front light can make your food look boring and flat, so try not to shoot photos from this way.
- Artificial Light
Artificial light is slightly more technical and one to try if you are willing to invest in some studio lighting. A softbox, for example, is a good source of lighting when photographing food. Artificial light will only be needed if you have no access to a natural light source. Light from your lamps or a torch isn’t poor artificial lighting, which instead relies on more technical and professional equipment like a softbox or a ring light, which you can find as standard in many photography shops.
Plan Your Composition
Composition techniques are important to take into consideration before you start taking your food photos. Once you have perfected your room’s lighting, it is time to plan the composition of your photos.
Most smartphones offer an option to take your images with a ‘grid’ overlay, which is a great to visually frame your composition. A great starting point for composition would be to take into consideration the rule of thirds. The rule of thirds describes the way of balancing the main subject in a photo using three sections.
In order to master composition, your images should look visually balanced and planned. If you’re taking a photo of a finished meal, consider using props within your frame, but always ensure the food itself is the main focal point of your image.
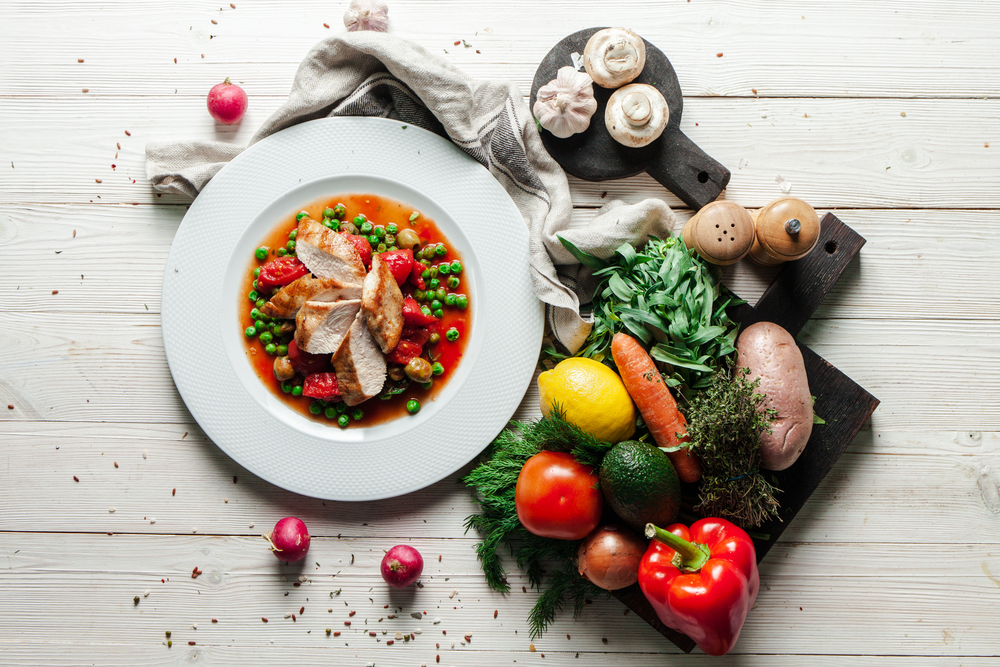
Decide on an Angle
The camera angles you use will have just as much impact on your photo as the lighting and composition. The three main angles that work well in food photography, include: straight on, 25° – 75,° and top-down (also known as a flat lay).
Flat lays (as seen below) is the simplest angel to shoot. This way you can have everything simply laid out in front of you, and all you need to do is focus on taking the photo.
Edit, edit, edit…
The last step would be to edit your photos. Now, this process can be as simple or complex as you like, depending on the smartphone you have. More complex methods of editing might include editing unwanted, or undesirable parts out of your shot. This can easily be done on a photo editing app. Simple editing steps include brightening and adjusting the temperatures and sharpness of your images within your phone in order to make them as bright as clear as possible.
For some simple smartphone editing app tips, watch the video below.
Make sure you put your new photography skills to use and submit a recipe through our site, we can’t wait to see what you Campbell’s foodie lovers create!